A Beginner's Guide to Using Recuva for File Recovery
In the digital world, accidental file deletions are common. Whether you’ve mistakenly deleted a critical document or formatted a storage drive, all hope is not lost. Recuva, a powerful and easy-to-use file recovery tool, comes to the rescue. In this blog, we’ll walk through how to use Recuva to recover lost files step-by-step.
Step 1: Download and Install Recuva
Visit the official Recuva website to download the free version:
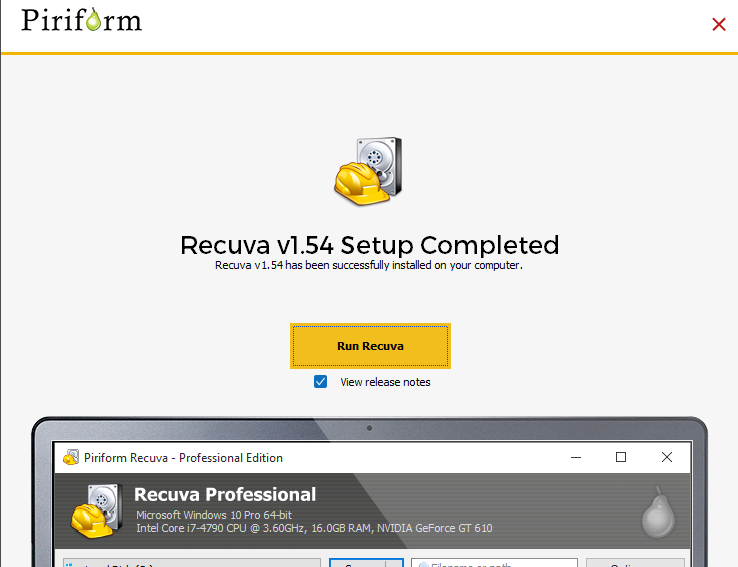
Run the installer and follow the on-screen instructions to install Recuva on your Windows system.
Launch Recuva once installation is complete.
Step 2: Launch the Recuva Wizard
When you open Recuva for the first time, the Recuva Wizard will launch automatically.
The wizard guides you through the recovery process. Click Next to proceed.

Step 3: Select the File Type
Specify the type of file you want to recover:
Pictures
Music
Documents
Videos
Emails
Other
Select the appropriate category or choose All Files if you’re unsure.
Click Next to continue.
Step 4: Choose the File Location
Indicate where the lost files were located:
In a specific location: Browse to a folder or drive.
On my media card or iPod: For portable storage devices.
I’m not sure: Scans the entire computer.
Click Next after selecting the location.
Step 5: Start the Scan
Recuva offers a Deep Scan option for a thorough search. Enable this if the initial scan doesn’t yield results.
Click Start to begin scanning for recoverable files.
Step 6: Preview and Recover Files
Once the scan is complete, Recuva displays a list of recoverable files with a color-coded status:
Green: Recoverable.
Yellow: Partially recoverable.
Red: Unrecoverable.
Preview files by selecting them from the list.
Choose the files you wish to recover, click Recover, and specify the destination folder for restored files. Note: Avoid recovering files to the same location where they were lost to prevent overwriting data.
Note: Avoid recovering files to the same location where they were lost to prevent overwriting data.
Step 7: Save Your Recovered Files
Navigate to the folder where the recovered files are saved.
Verify the integrity of the recovered files by opening them.
Tips for Effective File Recovery
Act Quickly: The sooner you attempt recovery, the better the chances of success.
Avoid Writing to the Drive: Minimize using the storage device where the data was lost to prevent overwriting.
Use Deep Scan for Thorough Recovery: Though it takes longer, it increases the likelihood of retrieving files.
Conclusion
Recuva is an essential tool for anyone who has faced the frustration of accidental file deletion. Its user-friendly interface and powerful recovery options make it a reliable choice for beginners and experts alike. By following this guide, you can efficiently recover your lost files and prevent potential data loss.


Comments
Post a Comment