A Step-by-Step Guide to Using FTK Imager for Android Forensics
Introduction
FTK Imager is a lightweight and powerful tool used for creating forensic images of digital storage media. It's widely used by forensic investigators to preserve data integrity and ensure evidence remains untampered during analysis. In this blog post, we’ll walk you through how to use FTK Imager to create a forensic image of an Android device, making it an essential tool in your cybersecurity and forensic investigations toolkit.
Step 1: Install FTK Imager
Download the latest version of FTK Imager.
Run the installer and follow the on-screen instructions to install FTK Imager on your Windows machine.
Step 2: Prepare Your Android Device
1. Enable Developer Options:
- Go to Settings > About phone and tap the Build number seven times.
- This will enable Developer Options.
2. Enable USB Debugging:
- Navigate to Settings > Developer options and toggle USB Debugging on.
3. Connect the Android device to your computer using a USB cable.
Step 3: Launch FTK Imager
Open FTK Imager by double-clicking the desktop icon or locating it in the Start menu.
Navigate to File > Create Disk Image to start the imaging process.
Step 4: Select the Source
In the ‘Select Source’ window, choose Physical Drive and click Next.
From the list of available physical drives, select your Android device. It may appear as a generic USB device.
Click Finish to confirm your selection.
Step 5: Choose the Image Destination
In the Select Image Destination window, click Add.
Choose the image type (e.g., E01 or Raw (dd)) and click Next.
Specify the destination path and name for the image file.
Optionally, enter case-related information (e.g., case name, examiner name).
Review the settings and click Start to begin the imaging process.
Step 6: Verify the Image
FTK Imager will automatically calculate the hash values (MD5/SHA1) for the original data and the image file to ensure data integrity.
After imaging is complete, review the logs to confirm that there were no errors.
Step 7: Analyze the Image
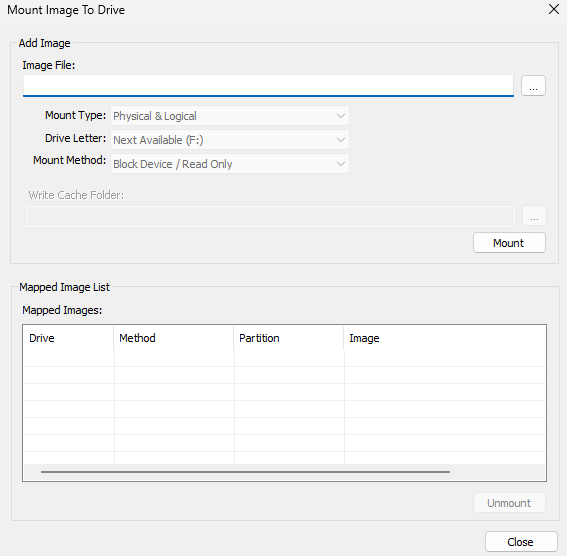
Use FTK Imager’s Mount Image feature to mount the forensic image as a virtual drive letter.
Explore the mounted image using the built-in file explorer to browse directories, files, and other data.
Export specific files or folders for further analysis or reporting.
Step 8: Document Findings
Create a detailed report documenting the entire process, including:
Tools used.
Steps taken.
Key findings.
Ensure that the forensic image is securely stored and the chain of custody is maintained.
Conclusion
Using FTK Imager for Android forensics is a reliable way to create forensic images of an Android device's storage. While it may not provide the same level of analysis as specialized mobile forensics tools, it’s an excellent option for imaging and preserving data integrity. By following the steps outlined in this guide, you can efficiently collect and secure evidence for further analysis


That tool does not save any data stored in android, outside of user access. That includes special keys/certificates, app data, work profile data or data of another system user in general.
ReplyDeleteBe mindful when using this tool, as you can basically miss data that is not present upon connecting the device to a computer.