AUTOPSY (FORENSIC TOOL)
AUTOPSY
What is Autopsy tool ?
Autopsy is an open-source digital forensics platform used for analyzing and investigating digital media in a computer system. It is commonly employed by law enforcement agencies, digital forensics professionals, and cybersecurity experts to examine and recover data from various types of storage devices, such as hard drives, USB drives, memory cards, and more.

👉Autopsy provides a range of features that assist investigators in conducting thorough examinations of digital evidence:
- Data Recovery: Autopsy can recover deleted files, partitions, and other data that might be relevant to an investigation.
- Keyword Search: The tool includes powerful keyword search capabilities to identify specific terms, phrases, or patterns in the data.
- Timeline Analysis: Autopsy can generate timelines of user activity, showing when files were created, modified, or accessed.
- Hash Analysis: Hashing algorithms can be used to verify the integrity of files and determine if they have been altered.
- Metadata Analysis: Autopsy can extract and display metadata from files, such as creation dates, authors, and more.
- Artifact Analysis: It can identify and display artifacts left behind by the operating system and applications, such as browser history, recent documents, and more.
- Thumbnail Generation: Autopsy can create thumbnails of images and videos to assist in quickly identifying potentially relevant media.
- Communication Analysis: It can analyze communication data like email headers, network activity, and chat logs.
- Reporting: Autopsy provides customizable reporting features, allowing investigators to create detailed reports based on their findings.
👉Autopsy is designed to be user-friendly and accessible even for those without extensive technical expertise. It is often used in conjunction with other forensic tools and methodologies to gather evidence that can be used in legal proceedings or other investigations.
👉It's important to note that Autopsy, like other digital forensics tools, should be used in accordance with legal and ethical guidelines to ensure the proper handling of digital evidence and the protection of individuals' privacy rights.
WHAT ARE THE FEATURES OF AUTOPSY ?
Autopsy is a powerful digital forensics tool equipped with features for comprehensive investigation and analysis of digital media. It facilitates the recovery of deleted files, enables efficient keyword searches, and constructs timelines of user activities for reconstructing events. With hash analysis, it verifies data integrity, while artifact and metadata extraction unveil valuable insights. The tool's communication analysis reveals patterns in emails, chats, and network traffic. Thumbnail generation aids visual review, and customizable reporting synthesizes findings. Autopsy's user-friendly interface, search filters, and support for third-party modules make it an indispensable solution for managing cases, dissecting evidence, and producing actionable insights across diverse investigations.
STEPS TO DOWNLOAD SOFTWARE:-
Step1:-Perform a search for "autopsy" using a web browser of your choice.

Step2:-Select the shown option and initiate the download process.

STEPS TO INSTALL AND SETUP SOFTWARE:-
Step1:-Start by opening the downloaded file.

Step2:-Just proceed by clicking the "Next" button.

Step3:-Just proceed by clicking the "Install" button.

Step4:-A popup will now emerge, requesting your authorization. Please click "Yes" in response.

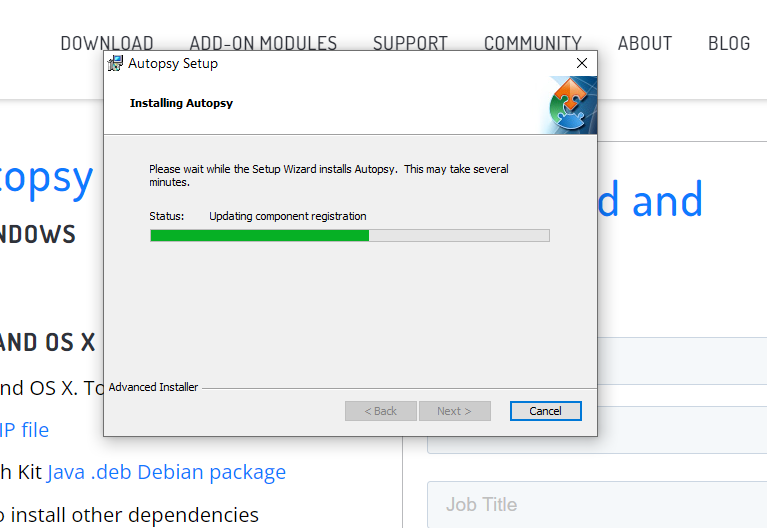
Step5:-Installation is currently in progress.
Step6:-Just proceed by clicking the "Finish" button.

Step7:-Search for "autopsy" using the search bar on your device.

Step8:-Just proceed by clicking the "OK" button.

Step9:-Grant permission for access in this step.

Step10:-Choose any option displayed based on your preference. In this instance, I have chosen "New Case."

Step11:-Enter a name for the case in the "Case Name" field and then choose any disk you want to investigate in the "Base Directory" field. After that click on the "Next" button.

Step12:-In this section, input your case number and provide the requested details. After that click on the "Next" button.

Step13:-Choose the second option "Specify new host name" and then provide a name in that field. After that click on the "Next" button.

Step14:-Opt for the "Local Disk" choice. And then simply click "Next".

Step15:-👉Click the "Select Disk" option. Then, pick the desired disk from the displayed list. If you don't see the specific disk you're looking for, you can refresh the list once. After that click on the "OK" button.
👉Afterward, select your time zone from the dropdown menu located in the field below. After that click on the "NEXT" button at the bottom right of the dialog box.

Step16:-Without making any changes to the currently selected options, proceed by clicking the "Next" button.

Step17:-Click the "Finish" option.

Step17:-The setup is now finished, and the tool has initiated the scanning process.
The green box on the left is where all the reports will be displayed.
The green box on the bottom right indicates the progress of the scanning process.

Step18:-Done.


Comments
Post a Comment